
Introduction:
Considering a migration to a new hosting provider like Cloudways? If you’re considering migrating your existing website to a new hosting provider, Cloudways offers a seamless and straightforward process to make the transition smooth and hassle-free. In this article, we’ll explore the steps involved in migrating your website to Cloudways and the benefits of making the switch to managed cloud hosting.
Although first of all, you need to know if you can migrate your website to Cloudways. Check out our article Can I Migrate My Existing Website to Cloudways?. for more details.
Steps for Migrating to Cloudways:
Step 1: Sign Up for Cloudways:
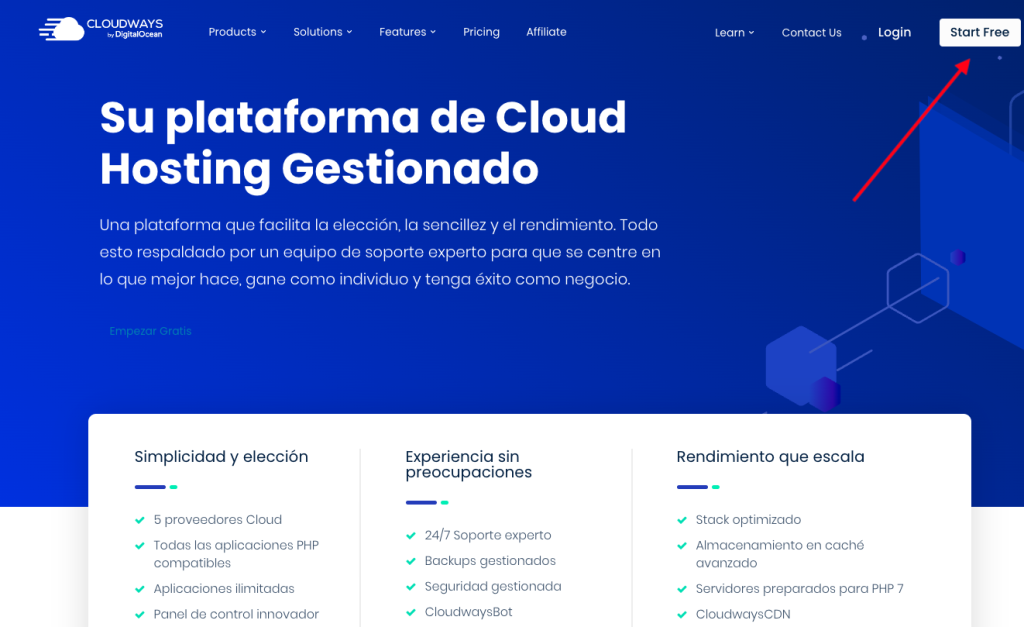
If you haven’t already, sign up for a Cloudways account by visiting the Cloudways website and creating an account.
Step 2: Prepare Your Website for Migration:
Before migrating your website, it’s essential to back up your files and databases to ensure you have a copy of your site’s data.
Check for any custom configurations or special requirements your website may have, such as specific PHP versions or server settings.
Step 3: Request Cloudways Migration Assistance:
Once you’ve signed up for Cloudways, reach out to the Cloudways support team to request migration assistance.
Provide them with access to your current hosting account or website files, along with any relevant details about your website setup.
Step 4: Sit Back and Relax:
The Cloudways team will take care of the migration process for you. This ensures that your website is transferred to the Cloudways platform securely and efficiently.
You’ll receive updates and notifications throughout the migration process, keeping you informed every step of the way.
Step 5: Verify Your Website:
Once the migration is complete, take some time to review your website on the Cloudways platform to ensure everything is working correctly.
Test different pages, features, and functionalities to make sure there are no issues or discrepancies.
Step 6: Update DNS Settings:
After you successfully verify that your website has migrated to Cloudways, update your DNS settings to point to your new Cloudways server.
This step ensures that your website directs visitors to the new hosting environment on Cloudways.
Step 7: Enjoy the Benefits of Managed Cloud Hosting:
After successfully verifying your website’s migration to Cloudways, update your DNS settings to point to your new Cloudways server.
To update your DNS settings, start by visiting your domain registrar’s website. Then, locate the DNS management section and edit the records to point to your new Cloudways server. Finally, save your changes.
Explore the features and services offered by Cloudways to optimize your website’s performance and enhance the user experience.
Cloudways Migration Review
What do customers say about Cloudways migration services? Cloudways receives positive reviews, with users praising its smooth transition experience. They appreciate the efficient migration process and responsive customer assistance. Overall, Cloudways is praised for its reliability and convenience in migration solutions.
For more information, check out our Cloudways Review including customer reviews.
Conclusion:
Migrating your website to Cloudways is simple and lets you enjoy managed cloud hosting benefits. Follow these steps with our support team for a smooth transition, ensuring minimal downtime and peace of mind. Elevate your website’s performance and reliability with Cloudways managed cloud hosting.
For more information, visit the Cloudways website.
Leave feedback about this